
Deployment with Heroku
- 2 minsDeployment with Heroku
Have a node.js (javascript) app that needs deployment? Well Heroku is here to do just that for you, but before we get started, you will need to create a Heroku account and then download and install the Heroku toolbelt which will give you access to the Heroku CLI.
Once you have installed the toolbelt, open your terminal and type in
herokuDependencies for the toolbelt will begin to install. Once that is complete, next type in your terminal
heroku loginand enter your credentials. Your CLI should be all set to go now. Let’s move on to your app to configure it for deployment.
Let’s first configure your server file, which is usually named index.js or server.js. The only thing that you need to have here is to set your port to process.env.PORT.

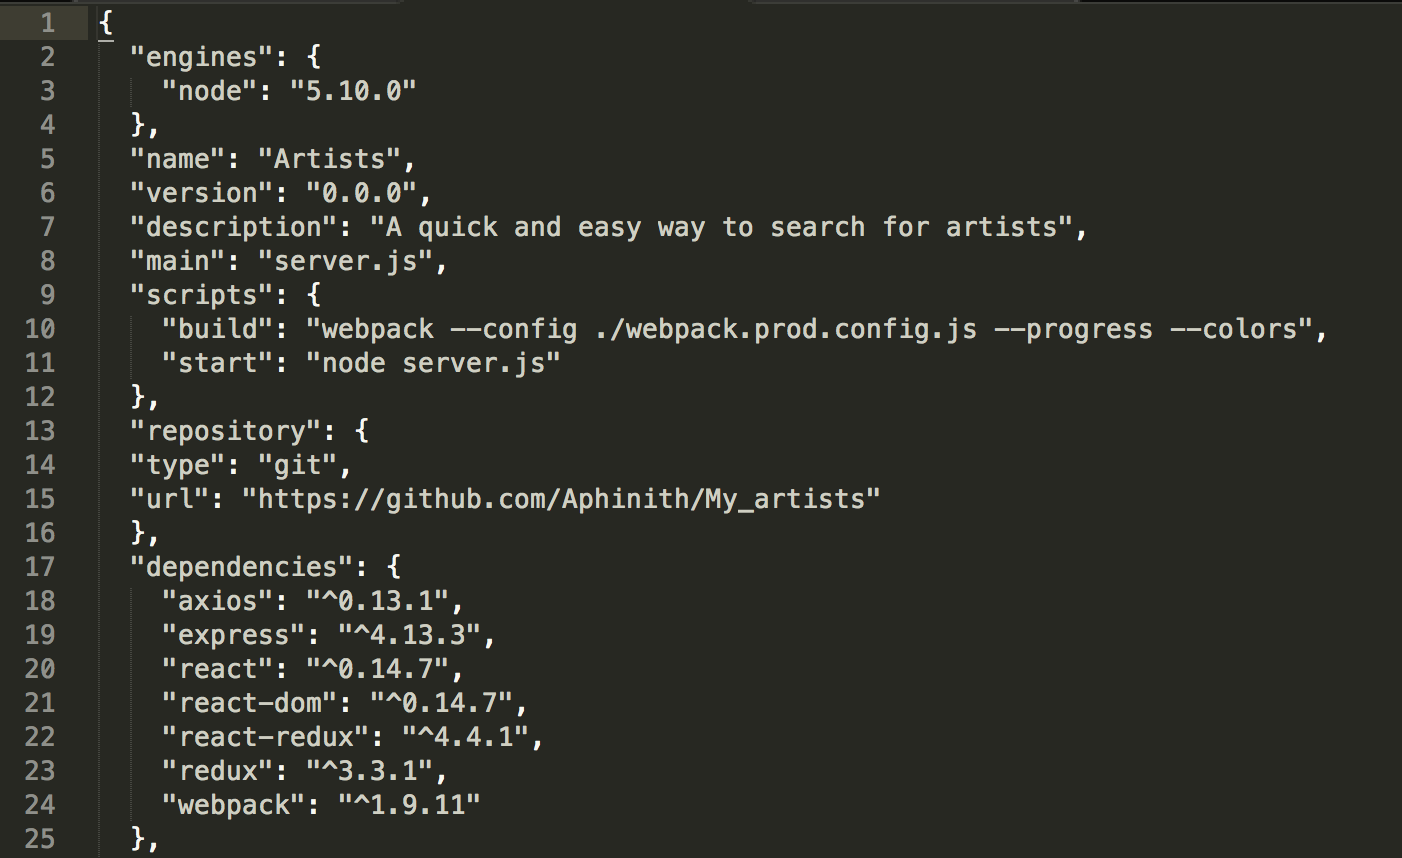
Let’s look at the package.json file. You will need to explicitly declare your engines here and the version of node you are using. If you are unsure of what version of node you have, simply type in node -v in your terminal. You’ll also notice below that there is a start script included in this package.json file. If you have a start script, you will not need to create a Procfile, but if you do not have a start script, then you will need to create a Procfile (which I will go over next).
So the start script is optional, but if you do not have one in your package.json file you will need a Procfile in your root directory. It must be named exactly that and in your file, you simply need the following: web: node server.js

Once you have these two files setup, simply navigate to the root directory of your app and type in the terminal:
heroku create --name of your app--This will create a remote to heroku’s repository. To check to see if the remote was successfully added, simply type in the command line:
git remote -vYou should see heroku master as one of your remotes listed. If the remote was successfully added, on the command line, enter:
git push heroku masterThis will start the build onto heroku’s repository. Once the build is complete, simply enter on the command line:
heroku openAnd voila, your app is now deployed. In the case that you ran into an error and it wasn’t deployed successfully, go back to your terminal and enter:
heroku logsThis will give you the log of any and all errors that were encountered during your deployment. This is where the true fun begins – debugging! I hope this was helpful and have fun out there folks!!!

Aralya Phinith
A Man who travels the world looking for the perfect wave